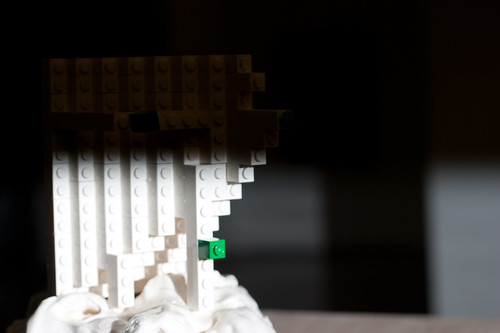
Photos taken on tripod. I use flash white balance on all of these. Yes, my room is Fiesta Orange.
 Bare/Naked lighting @ 1/8th power. 1/60 and f8.
 Flash position raised, pointing down.
Below Camera level, pointing up.
 Two point lighting for fill. Flash on camera left @ 1/16th power. 1/60 and f8.
Flash on camera right @ 1/4th power.
 Back to one point lighting. Flagged on both sides of the flash head.
It creates a narrow beam of light. Useful for creating patterns.
 Flash shooting into a reflective umbrella @ 1/2 power.
 Flash firing into a shoot-through umbrella @ 1/2 power. Softer shadows than the reflective.
With light being diffused, compensate by letting more light into your sensor.
Usually, I think to open up the aperture first b/c it is closest to me.
 Gridded flash @ 1/4th power. What's a gridspot?
 Moved in closer.
 Gelled flash to a color of your choice. I have lots...
 ... Flash @ 1/16th power, at camera left pointing onto a white backdrop ...
 ... Flash at camera right @ 1/4th power, flagged on its right side to prevent spill on the BG.
 Or maybe you'll want a silhouette.
When coloring a backdrop, I usually shoot with a flash there first.
Having the other flashes turned off allows you to focus on the settings for the BG.
Then add on other lights for the subject, etc.
 Rim light @ 1/8th power, flagged on both sides of the flash...
 ... Shoot through @ 1/2 power for fill on subject's left ...
 Nude flash @ 1/8th taking a bath on subject's right.
Kevin could have been groomed better, you should groom your model too.
I broke some sweat trying to control the rim lighting on this one.
One of my weaker techniques. Look at the strobist flickr pool for inspiration.
 Two point lighting for fill. Flash on camera left @ 1/16th power. 1/60 and f8.
Flash on camera right @ 1/4th power.
 Back to one point lighting. Flagged on both sides of the flash head.
It creates a narrow beam of light. Useful for creating patterns.
 Flash shooting into a reflective umbrella @ 1/2 power.
 Flash firing into a shoot-through umbrella @ 1/2 power. Softer shadows than the reflective.
With light being diffused, compensate by letting more light into your sensor.
Usually, I think to open up the aperture first b/c it is closest to me.
 Gridded flash @ 1/4th power. What's a gridspot?
 Moved in closer.
 Gelled flash to a color of your choice. I have lots...
 ... Flash @ 1/16th power, at camera left pointing onto a white backdrop ...
 ... Flash at camera right @ 1/4th power, flagged on its right side to prevent spill on the BG.
 Or maybe you'll want a silhouette.
When coloring a backdrop, I usually shoot with a flash there first.
Having the other flashes turned off allows you to focus on the settings for the BG.
Then add on other lights for the subject, etc.
 Rim light @ 1/8th power, flagged on both sides of the flash...
 ... Shoot through @ 1/2 power for fill on subject's left ...
 Nude flash @ 1/8th taking a bath on subject's right.
Kevin could have been groomed better, you should groom your model too.
I broke some sweat trying to control the rim lighting on this one.
One of my weaker techniques. Look at the strobist flickr pool for inspiration.
No photoshop.
Hopefully what you get away from this post are the possibilities of using my equipment. There are a lot of other light modifiers out there such as a mini softbox which some of our members own. There are also forbidden jutsu (techniques that go against ethics) that could be performed but I stay away from those. Given what you see here, you can vary it a little: a flash position can be altered slightly for great effect on shadows, play with longer exposure, multiple gelled lighting, etc.
Hopefully what you get away from this post are the possibilities of using my equipment. There are a lot of other light modifiers out there such as a mini softbox which some of our members own. There are also forbidden jutsu (techniques that go against ethics) that could be performed but I stay away from those. Given what you see here, you can vary it a little: a flash position can be altered slightly for great effect on shadows, play with longer exposure, multiple gelled lighting, etc.